Showing posts with label Beforever Samantha. Show all posts

Wednesday, April 8, 2015

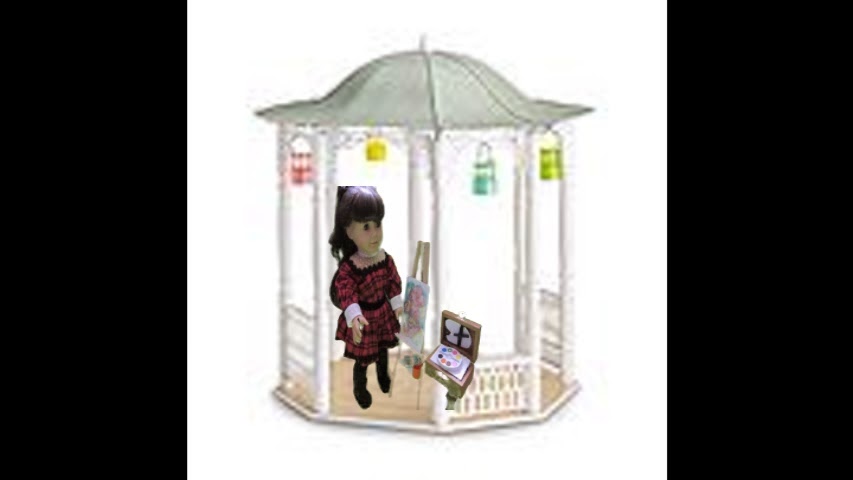
How To Make American Girl Samantha's Gazebo

From the moment Samantha's new items were revealed this year I fell in love with all of it.  Now being on the practical side, I knew that I would attempt to recreate what I could, and here is how I put together the "infamous" gazebo.


I started with a small plan and just figured out what I needed in supplies as I went along. I purchased pvc pipes from Home Depot already pre-cut into 2 ft. pieces.  Then I proceeded to cover them with white duct tape.  I chose to wrap them in duct tape because from prior experience if they are painted the paint easily gets chipped.

I purchased wood rectangular strips from Michaels to use for the 4 sections of plastic decor in between the posts and painted them white.

I measured and cut these wood strips by just using a visual measurement of pictures I had seen.  The plastic mesh I also purchased from Michaels by the yarn area.  I think it is for rug hooking.

I then sandwiched the mesh in between 2 wood pieces on each end.  I did this for the remaining other 3 sections.  Please note that 2 out of the 4 sections are a different height.


For the base and top I used 2 pieces of foam board and first marked a circle measuring 24" in diameter then marked it to cut into an octagon shape.  On each corner of the shape I traced, measured and cut a hole for each pvc pipe.


Before placing the pipes, I glued down scrapbook paper.  

Here you see the wood strips with mesh that I then glued on to the pvc pipe with hot glue.

 I cut foam board for the shelving to use on 2 of the mesh and wood pieces.

Here I have covered the little piece of shelving with scrapbook paper and glued it on top of the mesh piece.  I also cut out a pattern on the mesh to give it some distinction.  If I were to do this over, and I could, I would use a plastic basket from the Dollar store and cut it apart and use that instead of this mesh piece I used.  

This beautiful scrolled wood frame is perfect for the detailing for around the top of each opening in the gazebo.

I used 2 frames and cut each one into 4 pieces then painted them white.

Here I have attached the piece of frame and also I purchased this "large food umbrella" from Amazon to give the top of the gazebo some detail.

I then put a piece of duct tape at each opening, top and bottom, to prevent the foam board from slipping.

I finished this right before Easter and placed my decorations.  I love the way it turned out.  Don't be afraid to tackle a project that you are in love with.  I couldn't be happier.  This will be a part of my collection for years to come.


I purchased a string of patio umbrella lighting and placed it around the top for this finishing touch that makes it again, so special.  If you have any questions, just let me know.  

Happy AG Crafting !

Thursday, March 19, 2015

How To Make Easel from Samantha's 

Paint Set

New items mean new possible crafting ideas.  When I saw this new set for Samantha that was introduced with her new gazebo I felt I was one step ahead as I had made one for Saige for her GOTY year.  So here is how I made the easel.

Here are some basic supplies that I used.  A hammer, a nail about 1-1/2" long, 3 square dowels, a trim that an indentation on it, a cap from a glue stick, hot glue gun and fiber board for the inner triangular tray.


I measured and cut the square dowels about 15" tall and marked the center and made a hole on one end on each dowel about 1" from top edge.

I then slid the nail into the 3 holes of each dowel so that the nail head did not go through all the way.  You can plug the end hole with wood putty to make sure the point of nail doesn't go through.  So at this point I had the 3 dowels connected and I could form the easel triangle shape.


I cut off about 1/2" from the back dowel so that the easel could lean back and be more balanced.  Then I cut another piece of dowel and glued it on to brace the 2 front dowels.  This made it more stable.

Next step was to measure and cut the piece of wood trim for the front of the easel.  I chose this trim because I could also lay a brush in the indented part of trim.

I then glued it to the front in front of the brace that was already there securing it to the vertical dowels and the wood brace with hot glue.

Next I placed the easel on top of foam board and traced out the triangle piece that I would use for the inner tray.

I cut the foam board triangle piece and secured it with hot glue to each of the 3 legs of the easel.  I also then hot glued the orange glue stick orange top to the front leg.
I printed out the butterfly canvas print and glued it to cardboard.


I now had my easel and paint brushes and Samantha went quickly to work painting!!  The small wood box is from Michael's and I just set a small paint set on top and cut out the top part out of cardboard and added the brush to simulate the same set.  The only thing left to do is paint it with a wood stain to match the color of the actual set.

So now you can see how I finished up and you too can add this to your collection for Samantha.