Thursday, March 19, 2015

How To Make Easel from Samantha's 

Paint Set

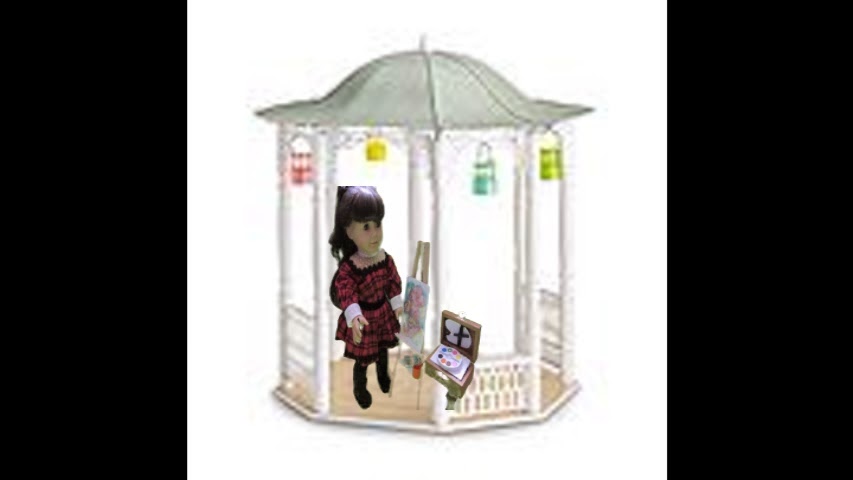
New items mean new possible crafting ideas.  When I saw this new set for Samantha that was introduced with her new gazebo I felt I was one step ahead as I had made one for Saige for her GOTY year.  So here is how I made the easel.

Here are some basic supplies that I used.  A hammer, a nail about 1-1/2" long, 3 square dowels, a trim that an indentation on it, a cap from a glue stick, hot glue gun and fiber board for the inner triangular tray.


I measured and cut the square dowels about 15" tall and marked the center and made a hole on one end on each dowel about 1" from top edge.

I then slid the nail into the 3 holes of each dowel so that the nail head did not go through all the way.  You can plug the end hole with wood putty to make sure the point of nail doesn't go through.  So at this point I had the 3 dowels connected and I could form the easel triangle shape.


I cut off about 1/2" from the back dowel so that the easel could lean back and be more balanced.  Then I cut another piece of dowel and glued it on to brace the 2 front dowels.  This made it more stable.

Next step was to measure and cut the piece of wood trim for the front of the easel.  I chose this trim because I could also lay a brush in the indented part of trim.

I then glued it to the front in front of the brace that was already there securing it to the vertical dowels and the wood brace with hot glue.

Next I placed the easel on top of foam board and traced out the triangle piece that I would use for the inner tray.

I cut the foam board triangle piece and secured it with hot glue to each of the 3 legs of the easel.  I also then hot glued the orange glue stick orange top to the front leg.
I printed out the butterfly canvas print and glued it to cardboard.


I now had my easel and paint brushes and Samantha went quickly to work painting!!  The small wood box is from Michael's and I just set a small paint set on top and cut out the top part out of cardboard and added the brush to simulate the same set.  The only thing left to do is paint it with a wood stain to match the color of the actual set.

So now you can see how I finished up and you too can add this to your collection for Samantha.

Friday, January 9, 2015

American Girl Grace's Street Bistro Scene

We've added a new room in our dollhouse with this Parisian street scene for Grace and her friends.  Although, we do not have Grace yet, we are ready for her.  Take a look at how I put it together.


Here is an overview.

I started by covering a box with red poster board and gluing on the images of the windows and the pastry menu boards.  The open/close sign is an image glued onto cardboard.  I added an extra piece to the top and slanted it for the roof.


The chairs I had, but they have been recently located at Hobby Lobby, and I painted them red and added the seat cushions.  The dog is from the My Life As raincoat set and the table base a candle holder and tabletop a round piece of unfinished wood that I painted white.  The pink carafe was a thrifty find that I painted with glass paint, the menus images, and the fruit is polymer clay and some accessories from Our Generation sets.  The menu chalkboard is from Hobby Lobby along with the Eiffel Tower glass vase.  The side wall is scrapbook paper and the flooring is some images that I printed out to resemble a stone grassy walkway.  

The background wall is an image that I cropped into several pieces and printed in large sections and taped to the wall.  The pastry cart is a DIY project also that I have here on this blog.

The red lanterns are from Ikea from their clearance Christmas section.  Love them as they do have battery operated lights.  The flower piece is a nice touch of red and greenery that serves well for the ambiance.

Leilani and Ivy have a peaceful place to grab a bite to eat and catch up on times.  They are waiting patiently for their friend Grace to arrive.  

If you want to see more details, take a look at our video on PlanetAG4U Click on the link to watch.  


Thursday, January 8, 2015

American Girl Grace's DIY Pastry Cart

Once American Girl's GOTY Grace was released it was all systems "Go".  I love challenges and love to craft, and absolutely love this doll so I let my mind go on the fast train to accomplishing this task.  I went on a scavenger hunt in my home and basically had the basic supplies except for the wheels and wire to make the scroll work on the cart.  I happened to take my weekly trip to Goodwill and came across this metal tissue holder and knew I had my base for the structure.  So here is what I did.

 Here is the tissue holder and I glued 2 painted dowels to the back.

I cut 2 pieces of foam board and glued them on.

 I found some Cool Whip container tops and glued on the image of the wheel and outlined it with a silver paint pen.  I also used a bottle cap for the front wheel.

 Here you can see that I have attached the side shelf for the bread box also using foam board and covered it with silver tape.

 I purchased floral wire and bent it around a pencil and marker to give it the scroll look and hot glued them in place.  I attached an image of the menu and cart sign to a piece of cardboard and glued them in place.


 I attached a small high shelf on the side where AG has a tall cake box.  This was also foam board and attached with hot glue.

 Here is a close up of the top of the cart so far.

 I happened to have this small clear rectangle cover to a small box that was perfect for the bread box and I glued on a bead.


 Here is my "engineering" to make the wheels a bit more stable.


 Here is a close up with some of the accessories in place.  I used mini gift boxes and glued paper to the outsides.  The assorted pastries I already had from different prior purchases and the bread I made with polymer clay.

Here is the completed cart with all its bells and whistles.  I love the way it came out.  Two days of work but so much worth it as I will not be purchasing the original.  Now, I do have to mention that I made this as a prop for my dollhouse as it is not sturdy enough for child play.  I would make it with wood and maybe doll stroller wheels if it were to be made for play.  

THANKS FOR TAKING A LOOK!

Monday, December 29, 2014

Welcome Josefina

We welcomed Josefina into our dollhouse this Christmas.  She is so beautiful.  Here is the room that I put together for her own space.  

I started by putting scrapbook paper on the walls.  I added a little color to the back wall.


I had purchased her table and chairs from AG and the adobe oven from Ebay.  I also added a vase on the table with flowers.

I made some polymer clay "bizcochitos".  Also used her bedspread for a rug.

The lantern was a Christmas ornament from Walmart and the beautiful door and window an image that I printed out.

I added a crocheted tablecloth, and a basket made from an applesauce cup and glued on twine.  Also in the background are corn husks made out of polymer clay and I found the "Lady of Guadalupe", a Hallmark Christmas ornament.

Here is the room completed for now.  I just love it.

Thursday, November 27, 2014

Happy Thanksgiving!!

Happy Thanksgiving from our AG House to Yours!

Yes, the holidays are here and we had some fun putting this scene together.  Tackled a polymer clay turkey and sides.  Quite an accomplishment as I was very intimidated to make this turkey.  We even braved making a pumpkin pie.  Hope yours was good!
The girls gathered in their Sunday best for their feast.

They gave "thanks" and gobbled it all up.

....and yes there was room for dessert!