My DIY Lea Clark's Rainforest House
This is a short tutorial on how I put together Lea’s rain forest hut. I took pictures along the way and I get so involved and get to a point that I forget to take pictures of some of the steps. Here it goes….Supplies: (3) ½” foam board, bamboo poles, scrapbook paper, hot glue gun, E6000 glue, for roof I used placemats, I trimmed with a natural fiber trim, wood dowels, round and 1 square one.
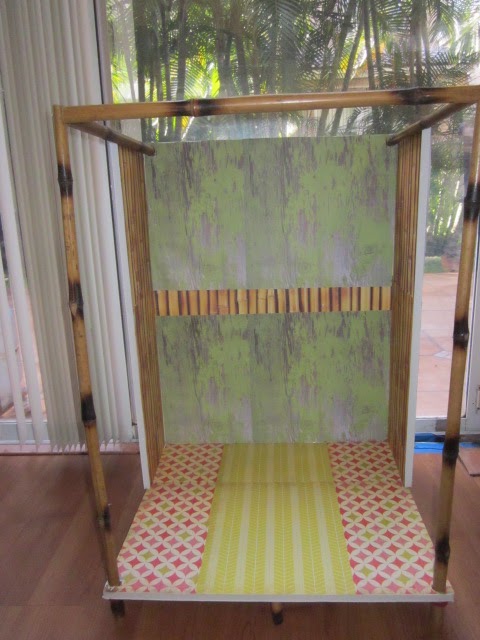
I first cut my boards, I could not use up the total space that original AG house had so I cut my back wall at 20” wide x 26” high, floor 20” wide x 19” deep. Short side walls 8” wide x 26” high. Again, these measurements are for the space that I have allotted.
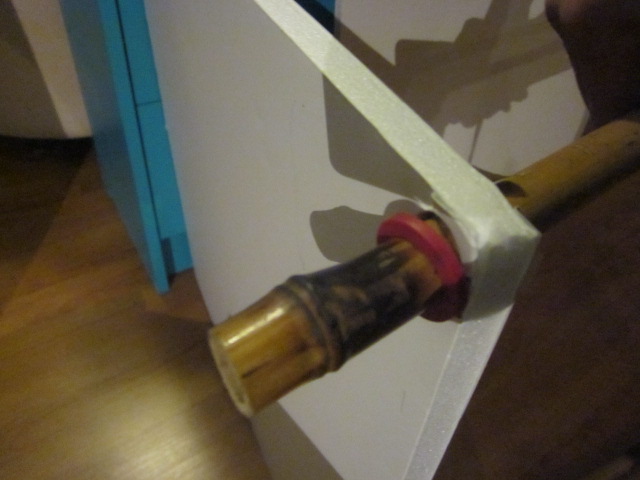
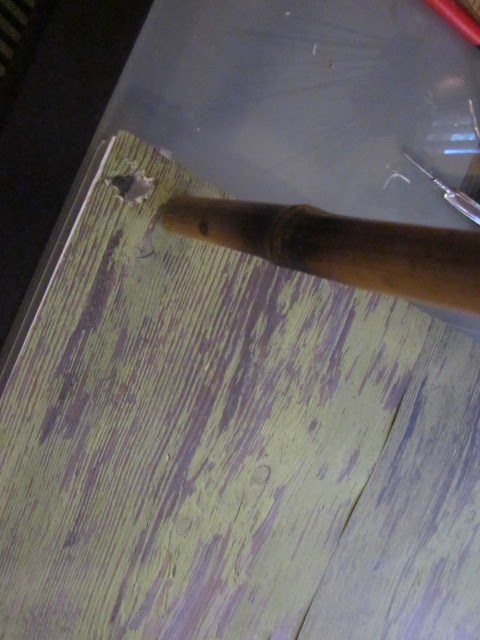
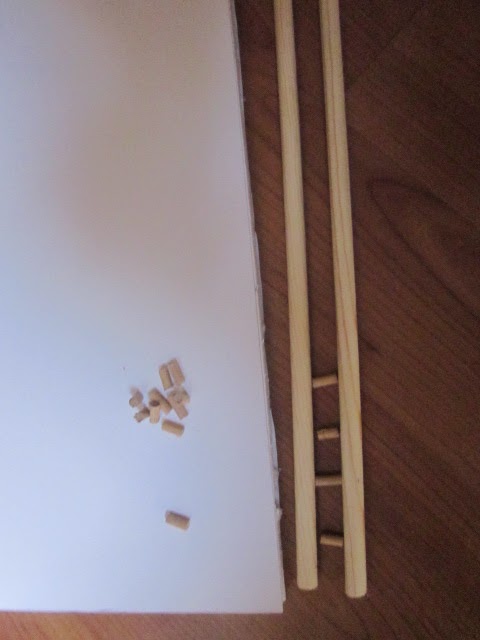
I marked my holes for the front bamboo poles and carefully poked tiny holes so that I could punch the poles through. I cut my bamboo poles to 29” which would allow a couple of inches below the floor as the AG one is.
I then put my scrapbook flooring down.
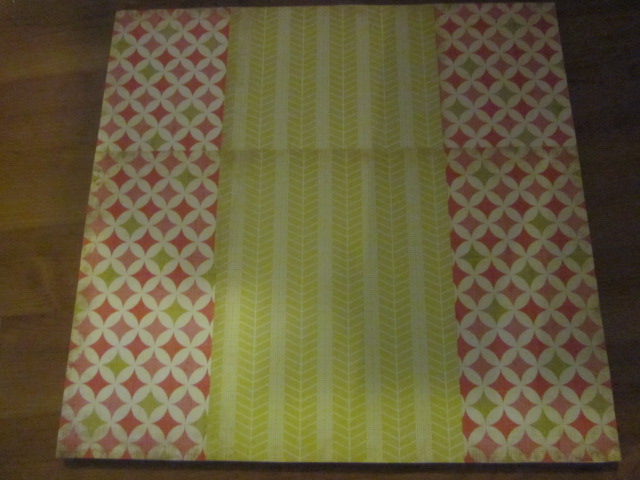
I placed some hose washers up from the bottom onto the bamboo poles to keep the foam board from slipping.
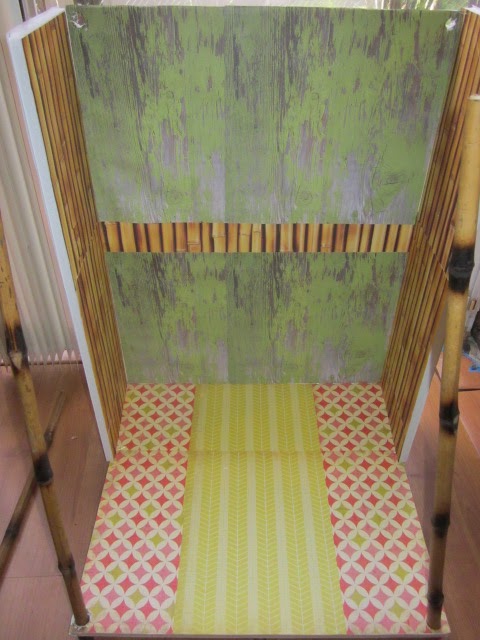
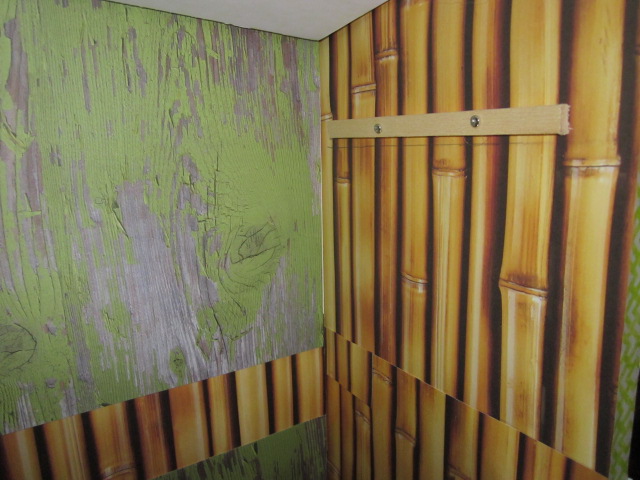
I finished putting on the scrapbook paper to the back and side walls. I used double face tape.
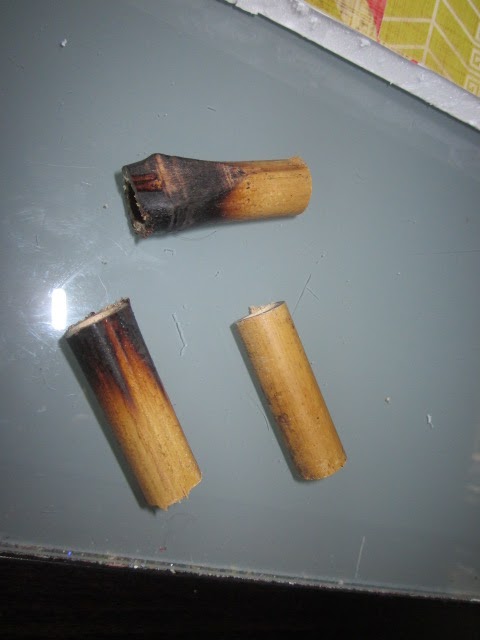
I cut 3 extra pieces of bamboo for extra feet for the flooring, 2 for each back corner and one for the front middle.
I then glued my side walls onto the back wall and onto the floor. You can also see that I punched 2 round holes on the top corners of the back wall which will take the bamboo poles which are part of the roof.
I now have glued on the rest of the roof which are the 2 pieces of bamboo going from front to back and the one if front going side to side.
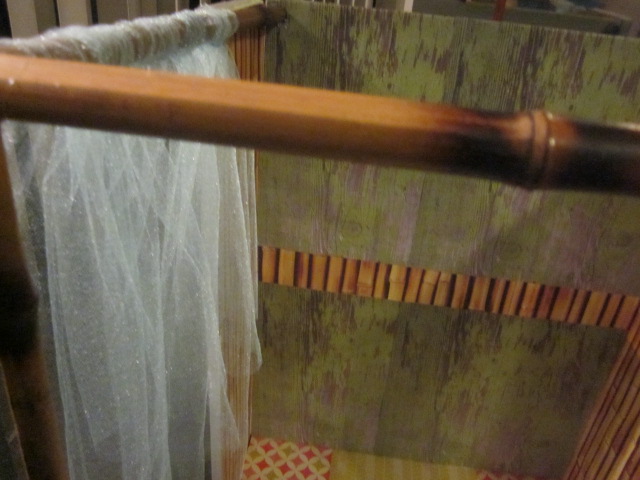
Just a note here, that before I glued on the 2 side poles on the top sides I put my curtains on first then glued.
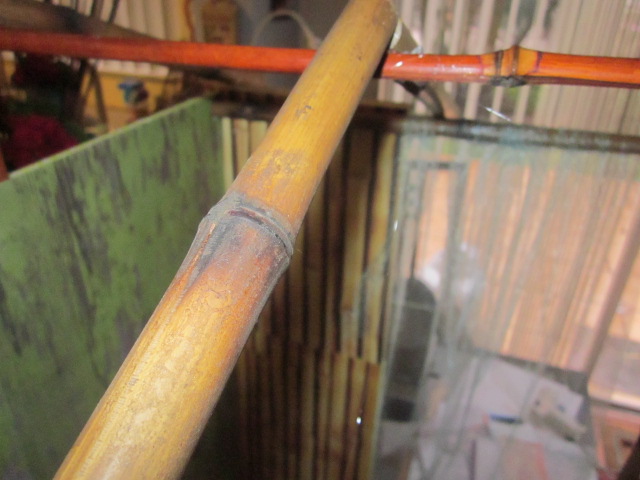
I now have to assemble the roof. First a piece of bamboo going from the front middle to the back middle. Then I cut 4 small pieces of bamboo to go from the middle roof pole to the side top poles of the house. The darker pole pictured is the one that runs in the middle from front to back.
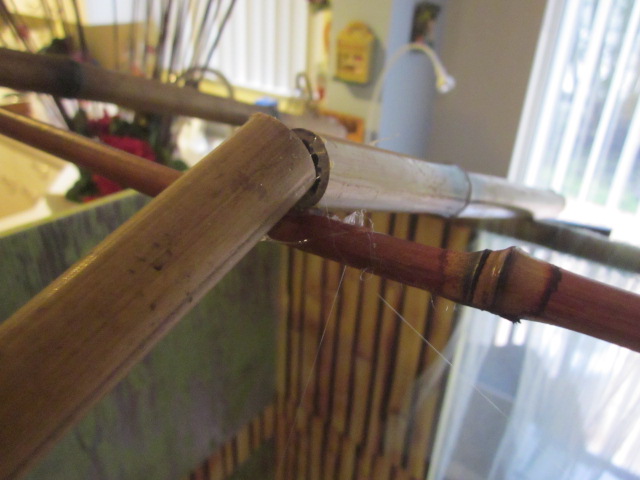
Here are 2 of the 4 side roof poles.
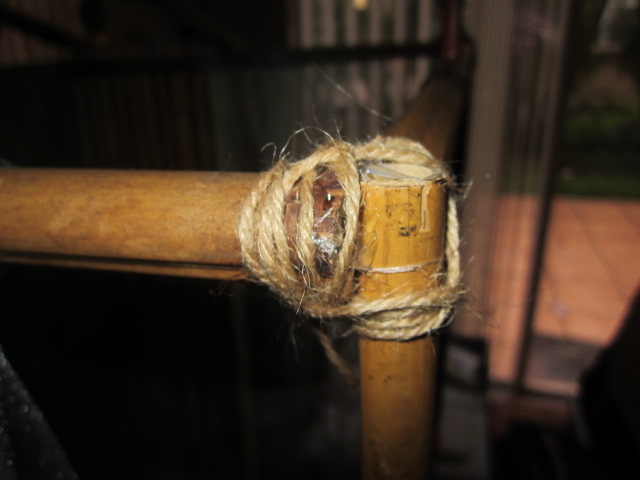
I then tied some jute onto the corner joints. (optional)
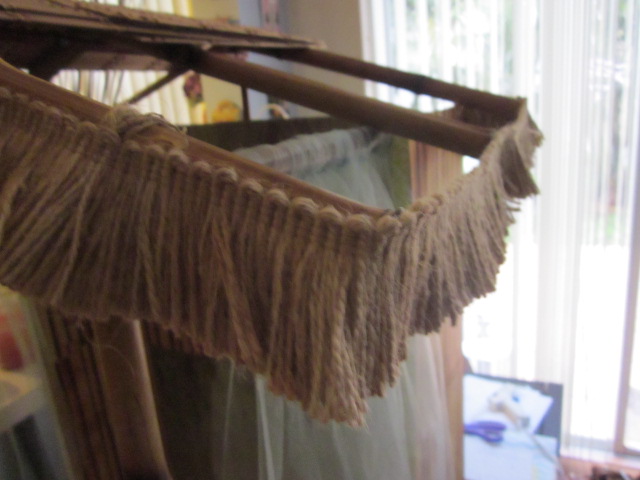
Here is trim that I used (just happened upon to some natural fiber trim) and some placemats for the roof.
After I glued on the trim, I glued on the placemats.
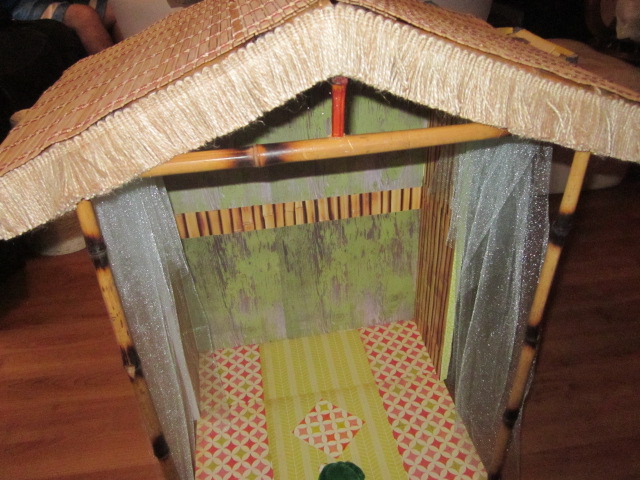
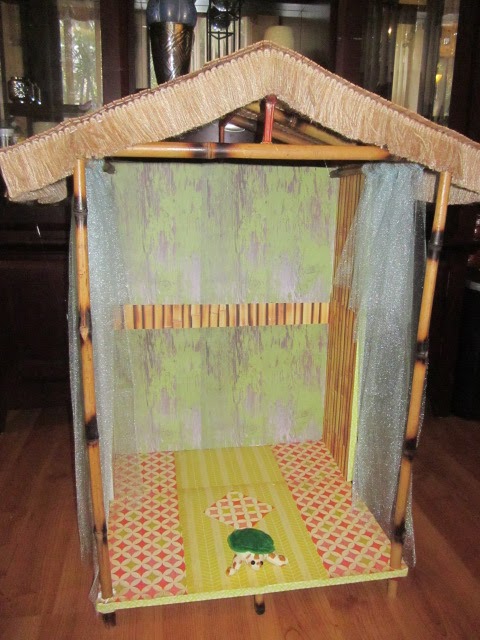
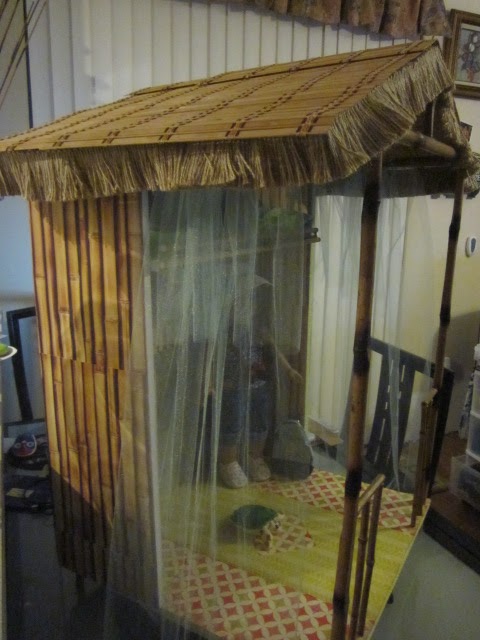
So here is the house so far…..
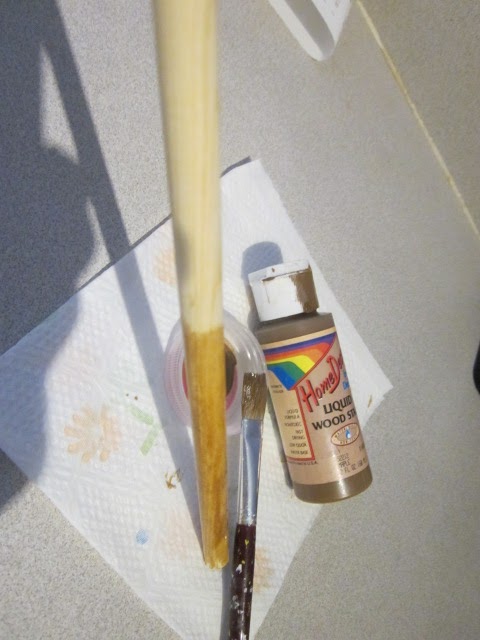
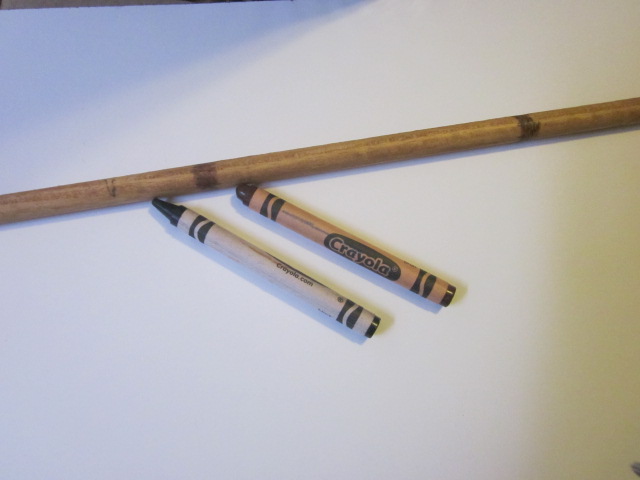
So now onto the front railing which I cut some thinner bamboo that I had and painted to match the other and also the loft bed for which I cut some dowels and painted them a beige color then put on some wood stain which is what I had on hand. I used crayon to color in some bamboo lines on the dowels. That idea I got from a fellow member here, Jacqueline Santiago and I thank her for that. I think the pictures are self explanatory.
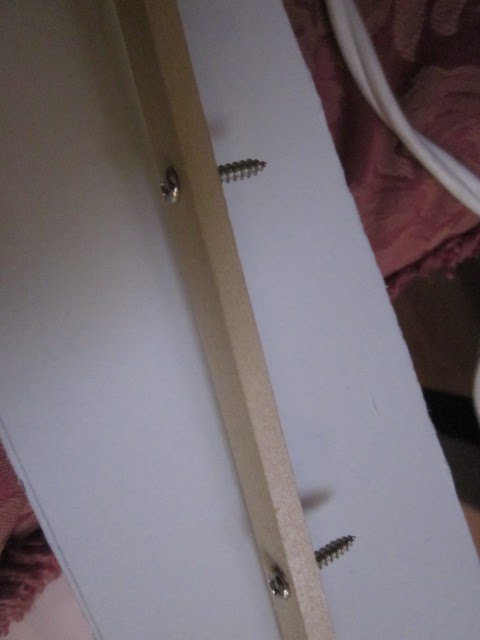
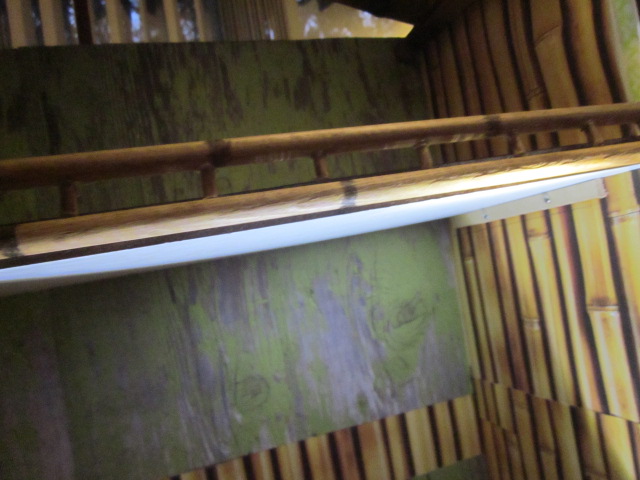
I cut 2 pieces of a square dowel to use for the support of the bed. I inserted 2 screws and measured so that they wouldn’t protrude outside of the walls and inserted them also with a dab of glue into each side wall. (I won’t be moving my bed down)
For the actual bed I used another piece of the foam board and glued on the side railing.
Another view of installed bed.
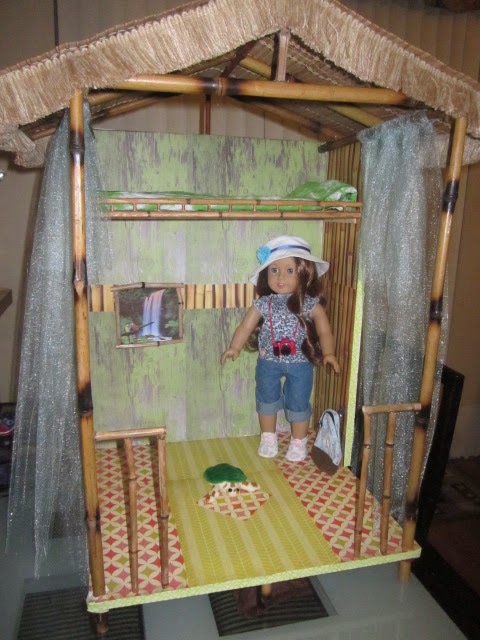
Here is completed hut up to this point. Now I need to add accessories. Hope you enjoyed this tutorial.